Arlyn MKE-5 Digital Indicator – SAW Series– Quick Start
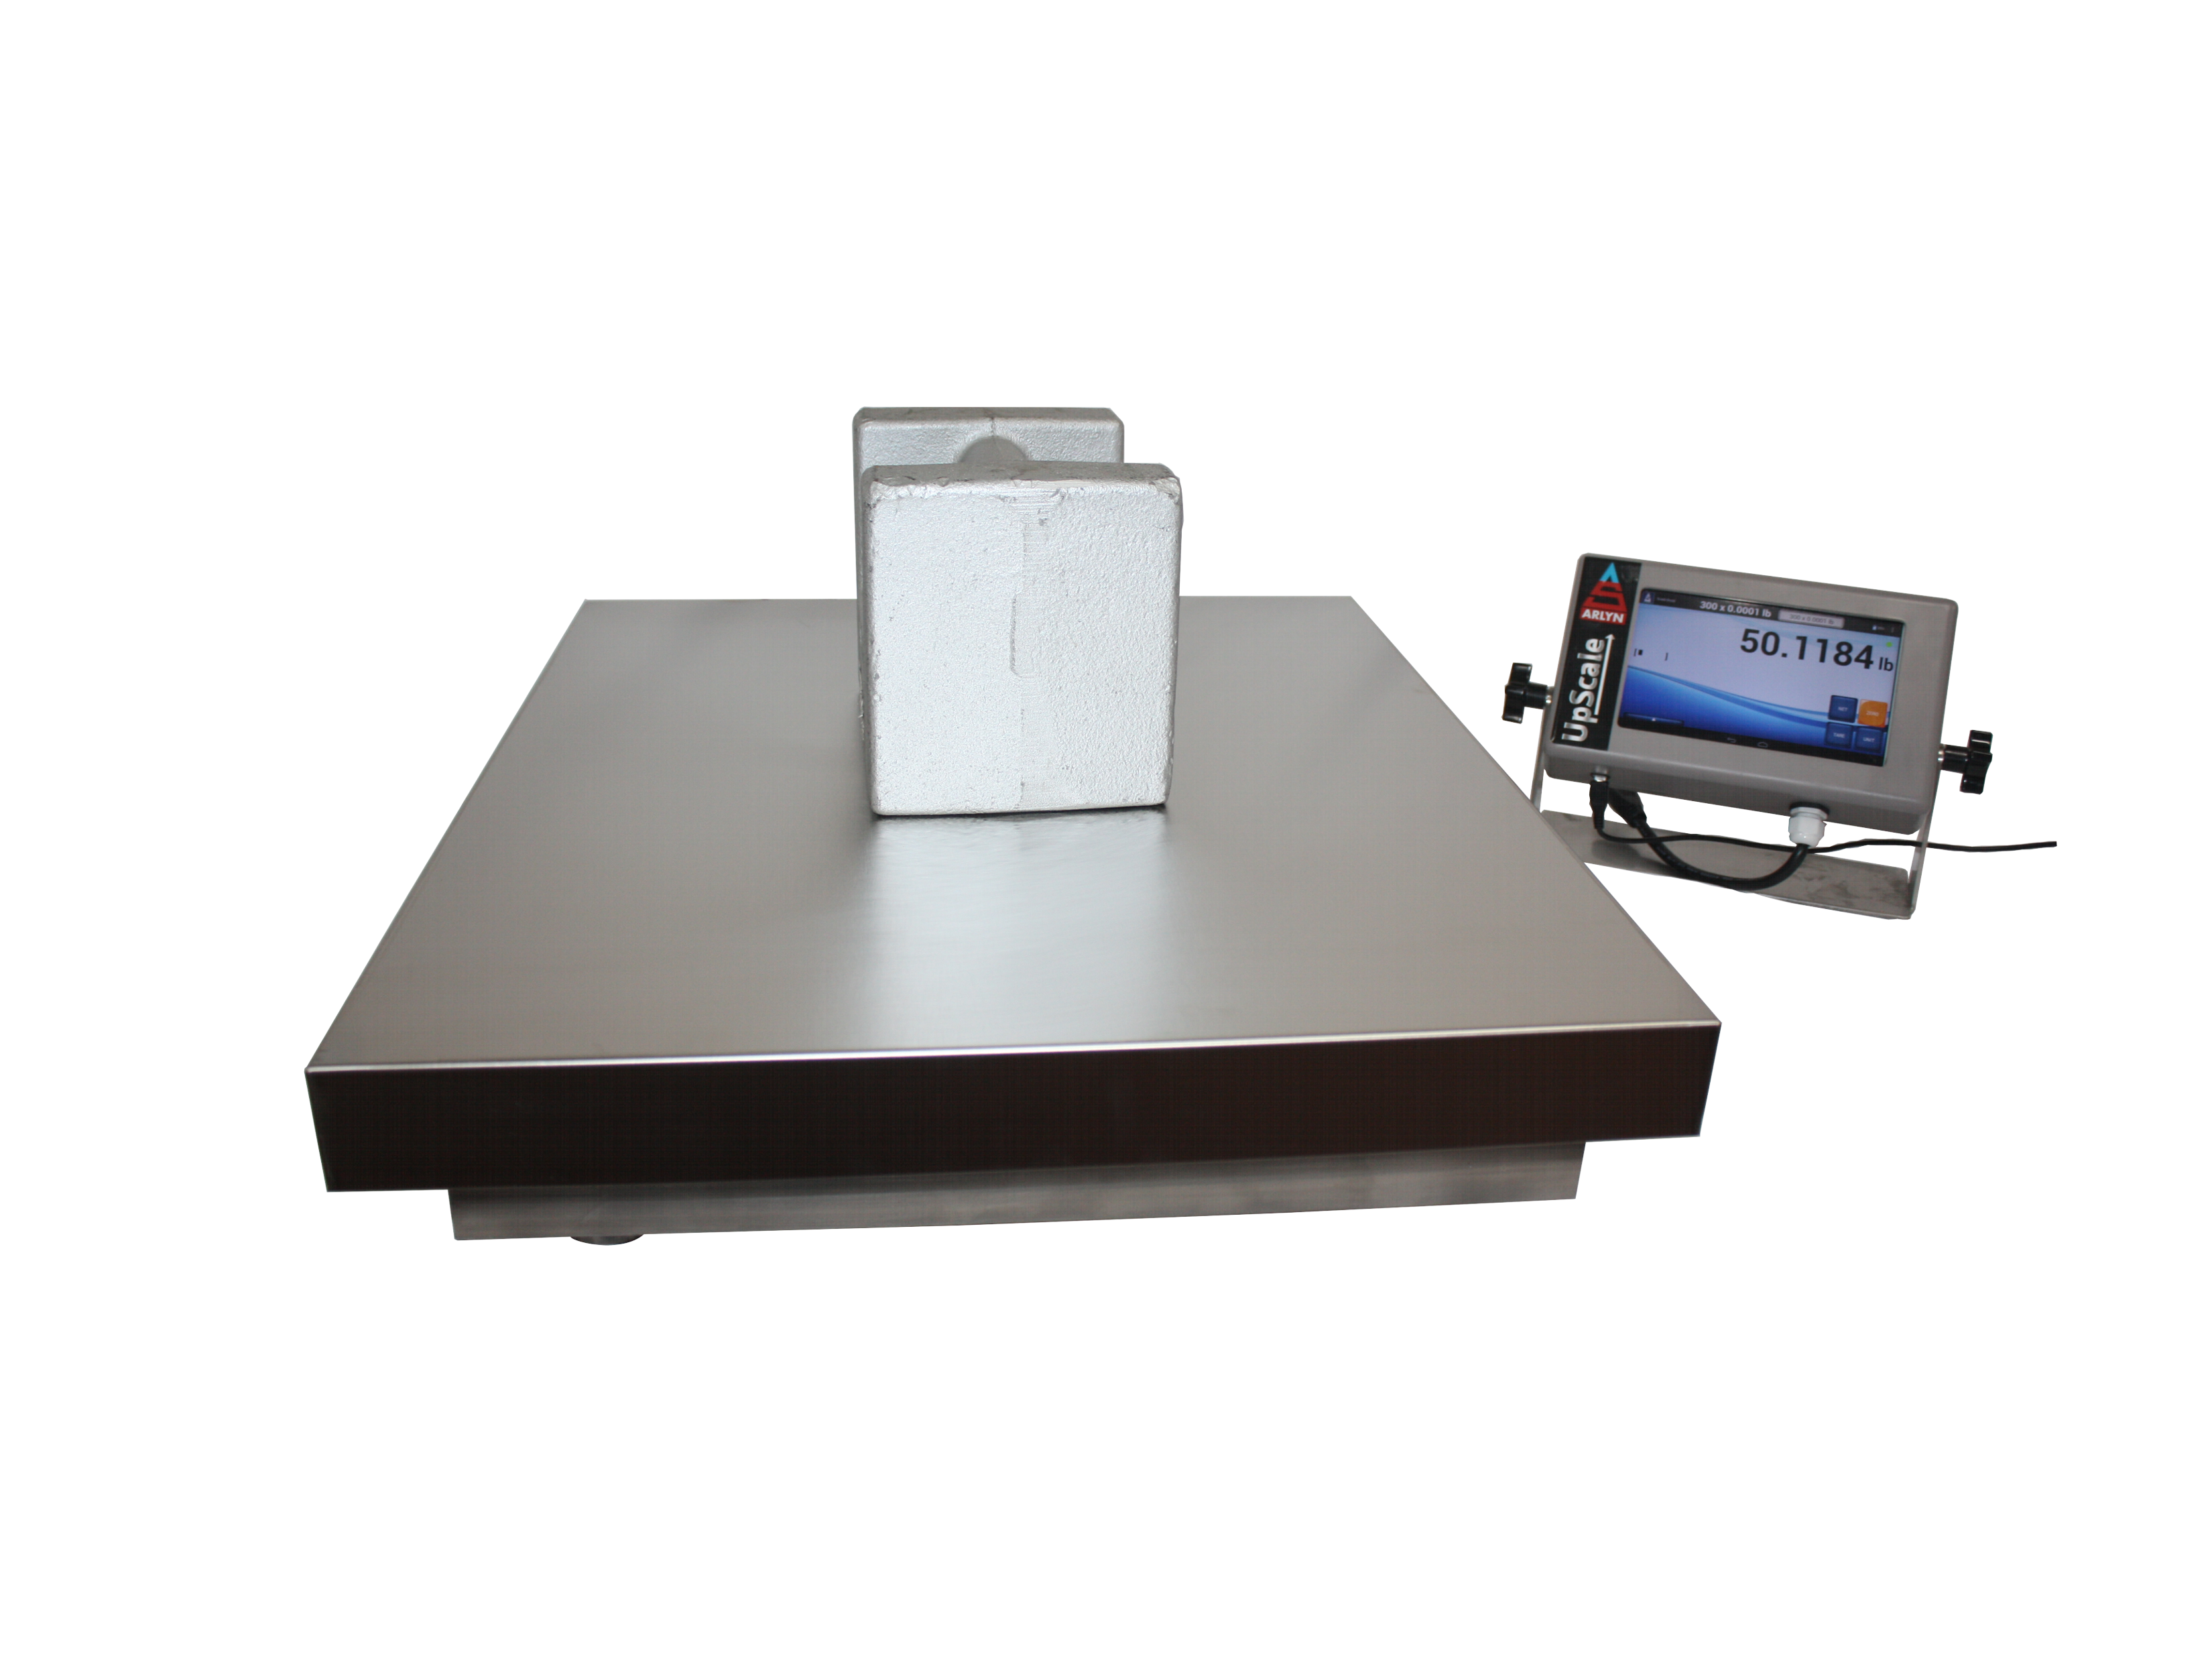
SAW Series (w/ MKE-5 Digital Indicator) – Quick Start Guide
USER MANUALS & SOFTWARE
[DOWNLOAD PDF]
Manuals: https://www.arlynscales.com/Product-Manuals-Specification-Sheets
- [MKE-5 Ultra-Precision SAW Scale User Manual – Instructions, Options Guide and Limited Warranty Terms]
- [MKE-5 Parts Counting Manual – For Parts Counting Scales]
- [MKE-5 USB Manual – Instructions for installing USB Drivers for the Scale (if equipped)]
Software: https://www.arlynscales.com/software-downloads/
- [MKE-5 USB Software CD – Software drivers for USB Communication (if equipped)]
- [MKE-5 Ethernet Software CD – Software Utilities for integrating Ethernet Scales to your existing LAN (if equipped)]
INITIAL SETUP AND OPERATION
- Carefully unpack scale from the shipping carton. Save packing material for possible future use.
- If the level legs are included separately, then screw one into each corner underneath the scale. If the level legs are already screwed into the platform, they MUST be unscrewed and extended out so they can hold the platform above ground.
- Place the scale on a level surface and adjust the level legs so that all four legs are touching the surface.
- If your scale comes equipped with ramps, fix them to the floor using the mounting holes provided. This way the ramp will not move during normal use. Be careful not to let the scale platform rub up against the ramp or any other surface, as this would cause non-repeatability or other inaccuracies.
- Plug into 117/120V Outlet. (For KML and KR models, connect to system’s RS232-connector labeled “Feed / Permeate Scale” to the pump’s input).
- In most cases, the scale will boot directly into the weight screen. If not, press the ON/OFF button.
- The scale will run some post-initialization processes even after the weight is shown. Please wait at least 30 seconds before operating the scale.
- Allow 5-10 minutes warm-up time for stabilization and the most accurate results. [This is only applicable if the scale is being turned on after some downtime. This does not apply if the scale just went through a power cycle]
- Now put a known test weight on the platform to see if the readings on the digital indicator are correct. If the reading is not correct, then perform a CALIBRATION procedure as described below before first official use.
CALIBRATION
- Before performing any calibration, the scale must undergo a Full Power Cycle. This means disconnect the scale from the power supply, wait a full minute, and then reconnect it back to the power supply.
- Once the scale is back on, allow 5-10 minutes of warm-up time for initialization and stabilization. Do not operate the scale during this period.
- The scale is ready to be used. If accuracy is an issue, proceed to the next step.
- Perform Full Calibration (Page 7 in Instructions Manual) as described in the Instructions Manual.
- If the scale is not performing properly, please refer to Restore to Factory Defaults (Page 9 in Instructions Manual) to restore working factory parameters that are built into the scale.
FACTORY DEFAULTS
Your scale has been pre-programmed with factory defaults that can be restored at any time. If the scale is not working properly after calibration, you can restore the factory defaults in a few simple steps as described in Restore to Factory Defaults (Page 9 in Instructions Manual).
MAIN DISPLAY SCREEN
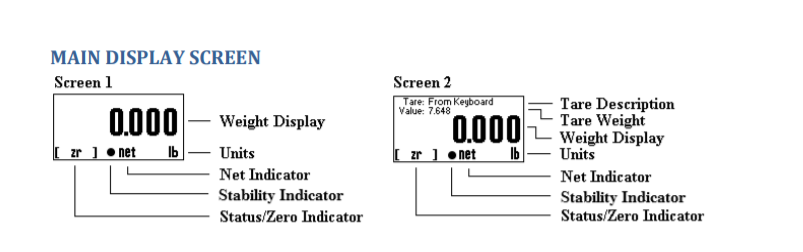
| Weight Display | Shows the weight on the platform in the current units setting |
| Units | Shows the active conversion units |
| Net Indicator | Shows “Net” if the indicator is in net weighing mode |
| Status Indicator | Shows if the weight on the display is a “Stable Weight”. |
| Status/Zero | Shows either “Zr” at zero weight, or “OVLD!” at overload weight. |
| Tare Description | Shows the description of the active tare weight |
| Tare Weight | Shows the weight value of the active tare |
MAIN FUNCTION KEYS
| On/Off | Press and hold to reboot the scale. On battery pack equipped scales, press and hold this key to power it down. |
| Tare | Tares any weight on the platform and switch the scale to the net mode. Hold the key down to clear the tare |
| Net/Gross | Toggle between the net and gross mode. Net mode will show the weight on the platform minus any tared weight. |
| Units | Pressing this key allows you to step through the various activated Units. |
| Zero | Will ZERO the scale. |
MENU NAVIGATION KEYS
| Menu/Back | Access the menu or back out from a menu. |
| Enter | Confirm any changes, or start a Setpoint Cycle. |
| Arrows | Navigate and select Menu items. |
SECONDARY FUNCTIONS
| Shift | Used for Secondary functions on the keypad. |
| Clear | Used in some editing screens to clear inputs for re-entry. |
| Numbers | Used in various editing screens to input numbers. |
MULTIPLE INDICATORS AND PLATFORMS
Indicators and Platforms must not be mixed and matched. Each indicator is calibrated towards a particular platform. If you purchased and received multiple scales, then each indicator must be matched with its own platform. To do this, match the serial number on the back of the indicator to the serial number on the platform. The platform’s serial number is usually located on the side of its frame or under it.
